Every mobile app needs permissions. For example, an app may need access to camera, location, storage, or contacts.
Testing these permissions manually again and again can be slow.
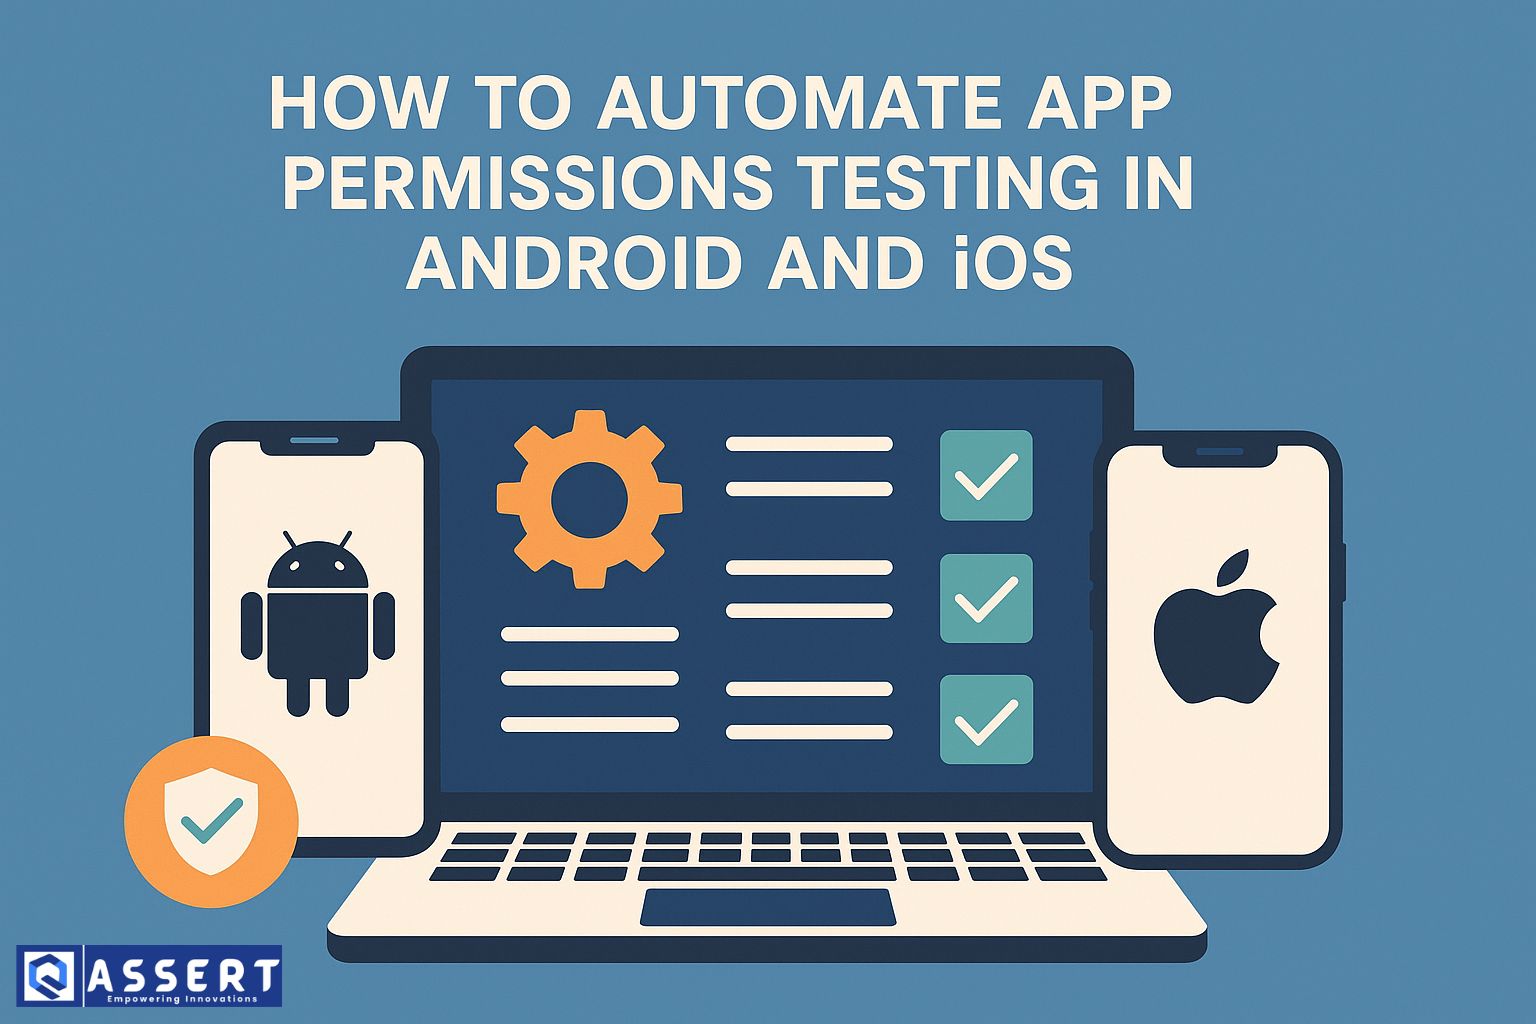
In this blog, you will learn how to automate app permissions testing in Android and iOS in very simple steps.
What Are App Permissions?
App permissions are special rights that your app requests from the device.
Example permissions:
-
Camera
-
Microphone
-
Location
-
Notifications
-
Storage
-
Contacts
Your app will show a popup asking the user to Allow or Deny these permissions.
Why Automate App Permissions Testing?
Automation helps you:
-
Save time
-
Test different permission states easily
-
Reduce manual work
-
Improve app quality
-
Repeat the same test on many devices
Tools You Can Use
Here are tools that support permissions automation:
1. Appium (Recommended)
Appium supports Android and iOS permissions handling using capabilities.
2. ADB (Android only)
You can set permissions directly using ADB commands.
3. XCUITest (iOS)
Used for permissions handling in native iOS automation.
How Permissions Work on Android
Android allows you to change permissions using:
✔ ADB Commands
Example:
adb shell pm grant com.example.myapp android.permission.CAMERA
adb shell pm revoke com.example.myapp android.permission.CAMERA
✔ Appium Desired Capabilities
You can auto-grant all permissions when the app installs:
capabilities.setCapability(“autoGrantPermissions”, true);
Handling Permission Popups
You can automate the popup using XPath or ID:
driver.findElement(By.id(“com.android.permissioncontroller:id/permission_allow_button”)).click();
How Permissions Work on iOS
iOS handles permissions differently.
✔ Using Appium Capabilities
capabilities.setCapability(“autoAcceptAlerts”, true);
This automatically accepts permission popups.
To deny:
capabilities.setCapability(“autoDismissAlerts”, true);
Using XCUITest
You can set permissions using xcrun simctl privacy (simulator only):
xcrun simctl privacy booted grant camera com.example.myapp
Test Scenarios You Should Automate
✔ 1. App launches with all permissions allowed
Check if the app works normally.
✔ 2. App launches with some permissions denied
Ensure the app handles denial safely.
✔ 3. App requests permission while running
Test Allow / Deny flows.
✔ 4. User denied permission earlier, now app asks again
Test retry behavior.
✔ 5. User permanently denied permission (“Don’t ask again” in Android)
Check fallback behavior.
Sample Test Flow Using Appium
Step 1: Launch app and wait for popup
MobileElement allowButton = driver.findElement(By.id(“permission_allow_button”));
Step 2: Click Allow
allowButton.click();
Step 3: Validate app behavior
Check elements, logs, or screens.
Best Practices
✔ Use capability to handle permissions automatically when possible
✔ Do not rely only on XPath — use resource IDs
✔ Test all permission combinations
✔ Use real devices + emulators for full coverage
✔ Reset permissions before every test run
Conclusion
Automating permission tests makes mobile testing faster and more reliable.
Using tools like Appium, ADB, and XCUITest, you can easily control permissions on both Android and iOS.
This saves time and helps you find issues early.