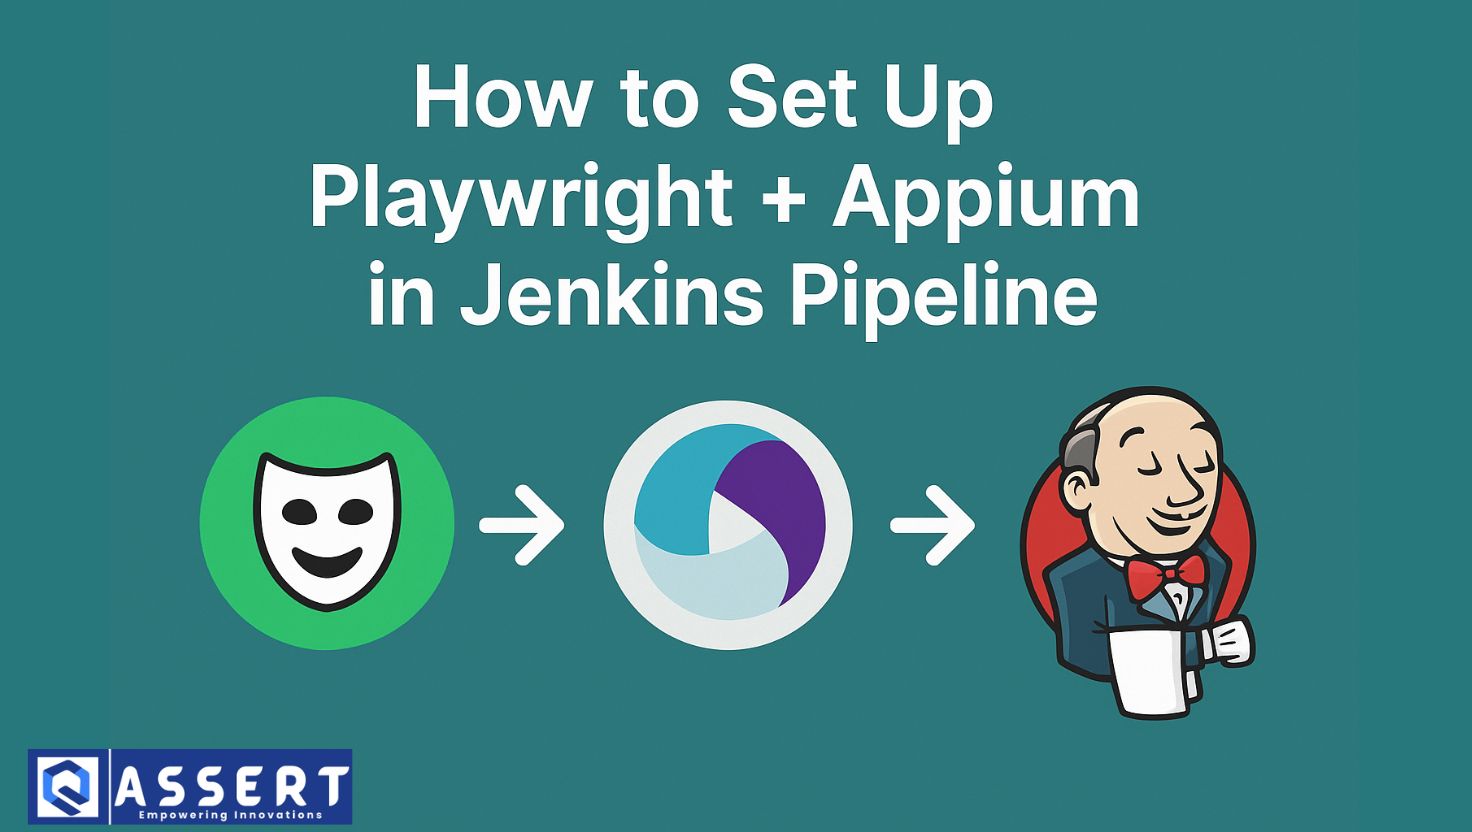
Setting up a Playwright Appium Jenkins setup is essential if you want to automate testing for both web and mobile apps in one CI/CD pipeline. Playwright helps automate web browsers, while Appium powers mobile automation. By running them together inside Jenkins, your team can catch bugs faster and release confidently.
This guide is made for beginners and walks through every step to integrate Playwright and Appium into a Jenkins pipeline.
Benefits of Playwright Appium Jenkins Setup
Here’s why combining these tools is powerful:
-
Playwright handles fast and reliable browser testing.
-
Appium supports mobile testing for iOS and Android.
-
Jenkins automates the whole process, running your tests on every commit.
With a proper Playwright Appium Jenkins setup, you can test across platforms automatically—saving time and improving quality.
What You Need Before You Start
Before setting up your Jenkins CI for test automation, make sure you have:
-
Jenkins installed (on a local or cloud server)
-
Node.js (for Playwright and Appium scripts)
-
Java (for Appium server)
-
Android Studio or Xcode (depending on mobile platform)
-
Your test project in Git (including Playwright and Appium test files)
-
Jenkins plugins:
-
Git Plugin
-
NodeJS Plugin
-
Pipeline Plugin
-
Need help installing Jenkins? Visit the official Jenkins installation guide.
Step-by-Step Playwright Appium Jenkins Setup
1. Install Playwright and Appium on Jenkins Node
Install required tools on your Jenkins machine or agent:
# Install Appium
npm install -g appium
# Install Playwright (inside your project directory)
npm install -D @playwright/test
npx playwright install
Make sure Android emulators or iOS simulators are also set up correctly.
2. Prepare Your Git Repository
Your repo should include:
-
tests/folder with Playwright and Appium test scripts -
package.jsonwith test dependencies and scripts -
Optional: a
Jenkinsfileto define your CI/CD pipeline
Example test script commands in package.json:
“scripts”: {
“test:playwright”: “npx playwright test”,
“test:appium”: “mocha tests/appium” // Example for JavaScript Appium
}
3. Create Jenkins Pipeline (Jenkinsfile)
Here’s a simple Jenkinsfile for your Playwright Appium Jenkins setup:
pipeline {
agent any
environment {
NODE_ENV = ‘test’
PATH = “/usr/local/bin:$PATH”
}
tools {
nodejs “NodeJS 18” // Name must match your Jenkins NodeJS installation
}
stages {
stage(‘Checkout Code’) {
steps {
git ‘https://github.com/your-org/your-repo.git’
}
}
stage(‘Install Dependencies’) {
steps {
sh ‘npm install’
}
}
stage(‘Start Appium Server’) {
steps {
sh ‘appium –log appium.log &’
sleep(time:10, unit:”SECONDS”) // Wait for Appium to be ready
}
}
stage(‘Run Playwright Tests’) {
steps {
sh ‘npx playwright test’
}
}
stage(‘Run Appium Tests’) {
steps {
// Adjust based on your Appium test framework (Java, JS, etc.)
sh ‘npm run test:appium’
}
}
}
post {
always {
archiveArtifacts artifacts: ‘**/test-results/**/*.*’, allowEmptyArchive: true
}
}
}
More Tips for a Smooth CI/CD Integration
-
Use headless mode in Playwright for performance in CI environments.
-
Use Appium Inspector locally to build test cases before adding to Jenkins.
-
Consider Dockerizing your test environment for portability.
-
Run web and mobile tests in parallel using Jenkins multi-stage pipelines.
Conclusion
Integrating Playwright and Appium in a Jenkins pipeline gives you a full-stack test automation solution across web and mobile platforms. With the setup above, your team can continuously run tests and catch bugs earlier in the development cycle.
Start small, keep improving, and enjoy faster, more reliable releases!